To simplify and streamline the interface creation process, Optix provides a full UI component kit that you can use to create your UI layouts. The UI kit contains all of the HTML and CSS, so all you have to do is specify which component you’d like to use.
UI Kit
On this page
UI kit overview
The UI displayed in canvases is expected to be simple; it should render quickly and look similar to the overall layout/style of the Optix platform. For this reason, it makes sense to provide a UI kit that simplifies the development and also stays up to date with the Optix UI guidelines (including fonts, colors, and field/button styles).
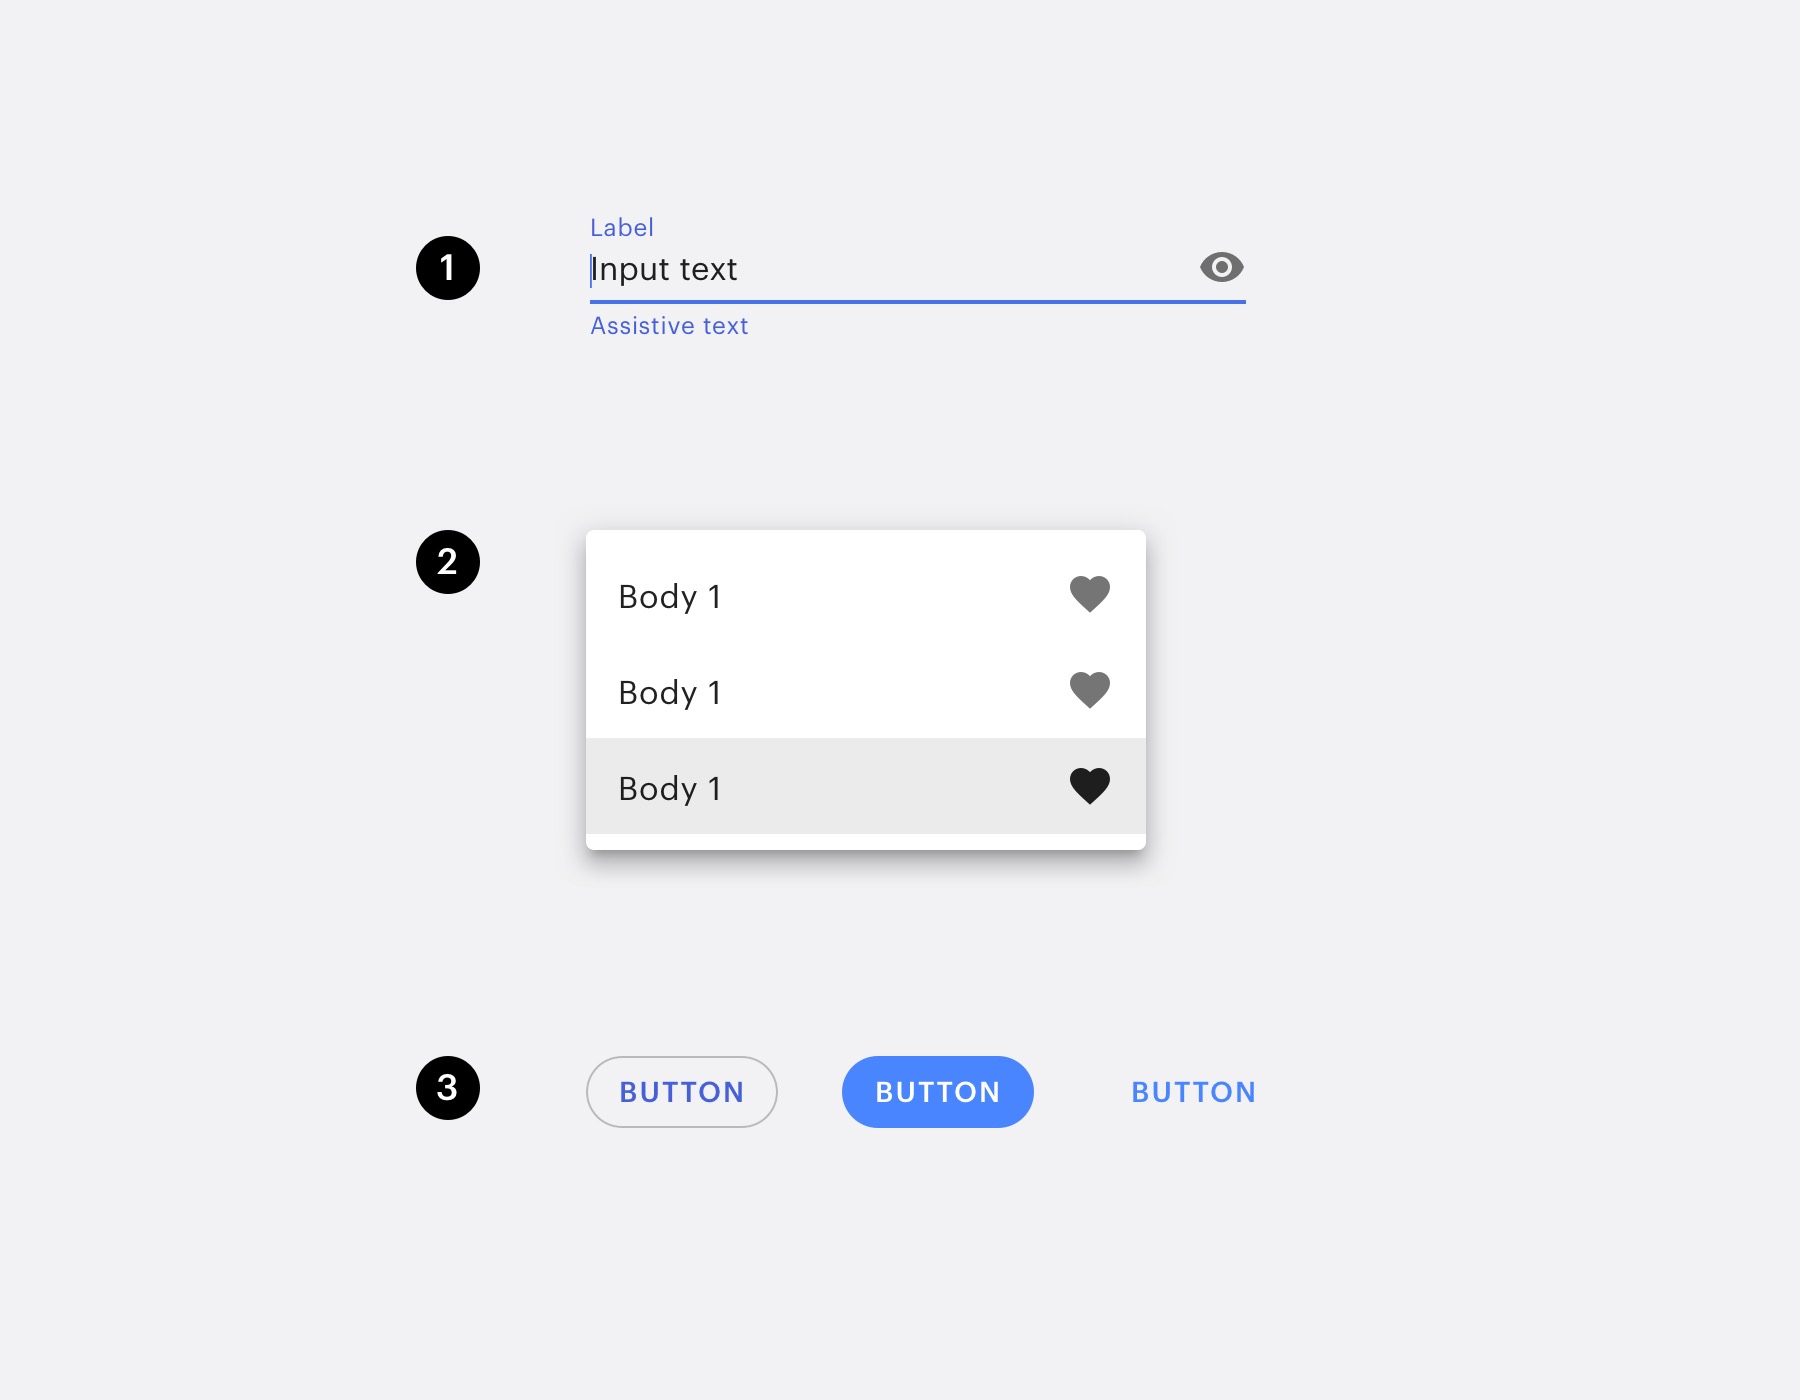
Just a few examples of the available components:
- Input (active state)
- Dropdown menu
- Buttons
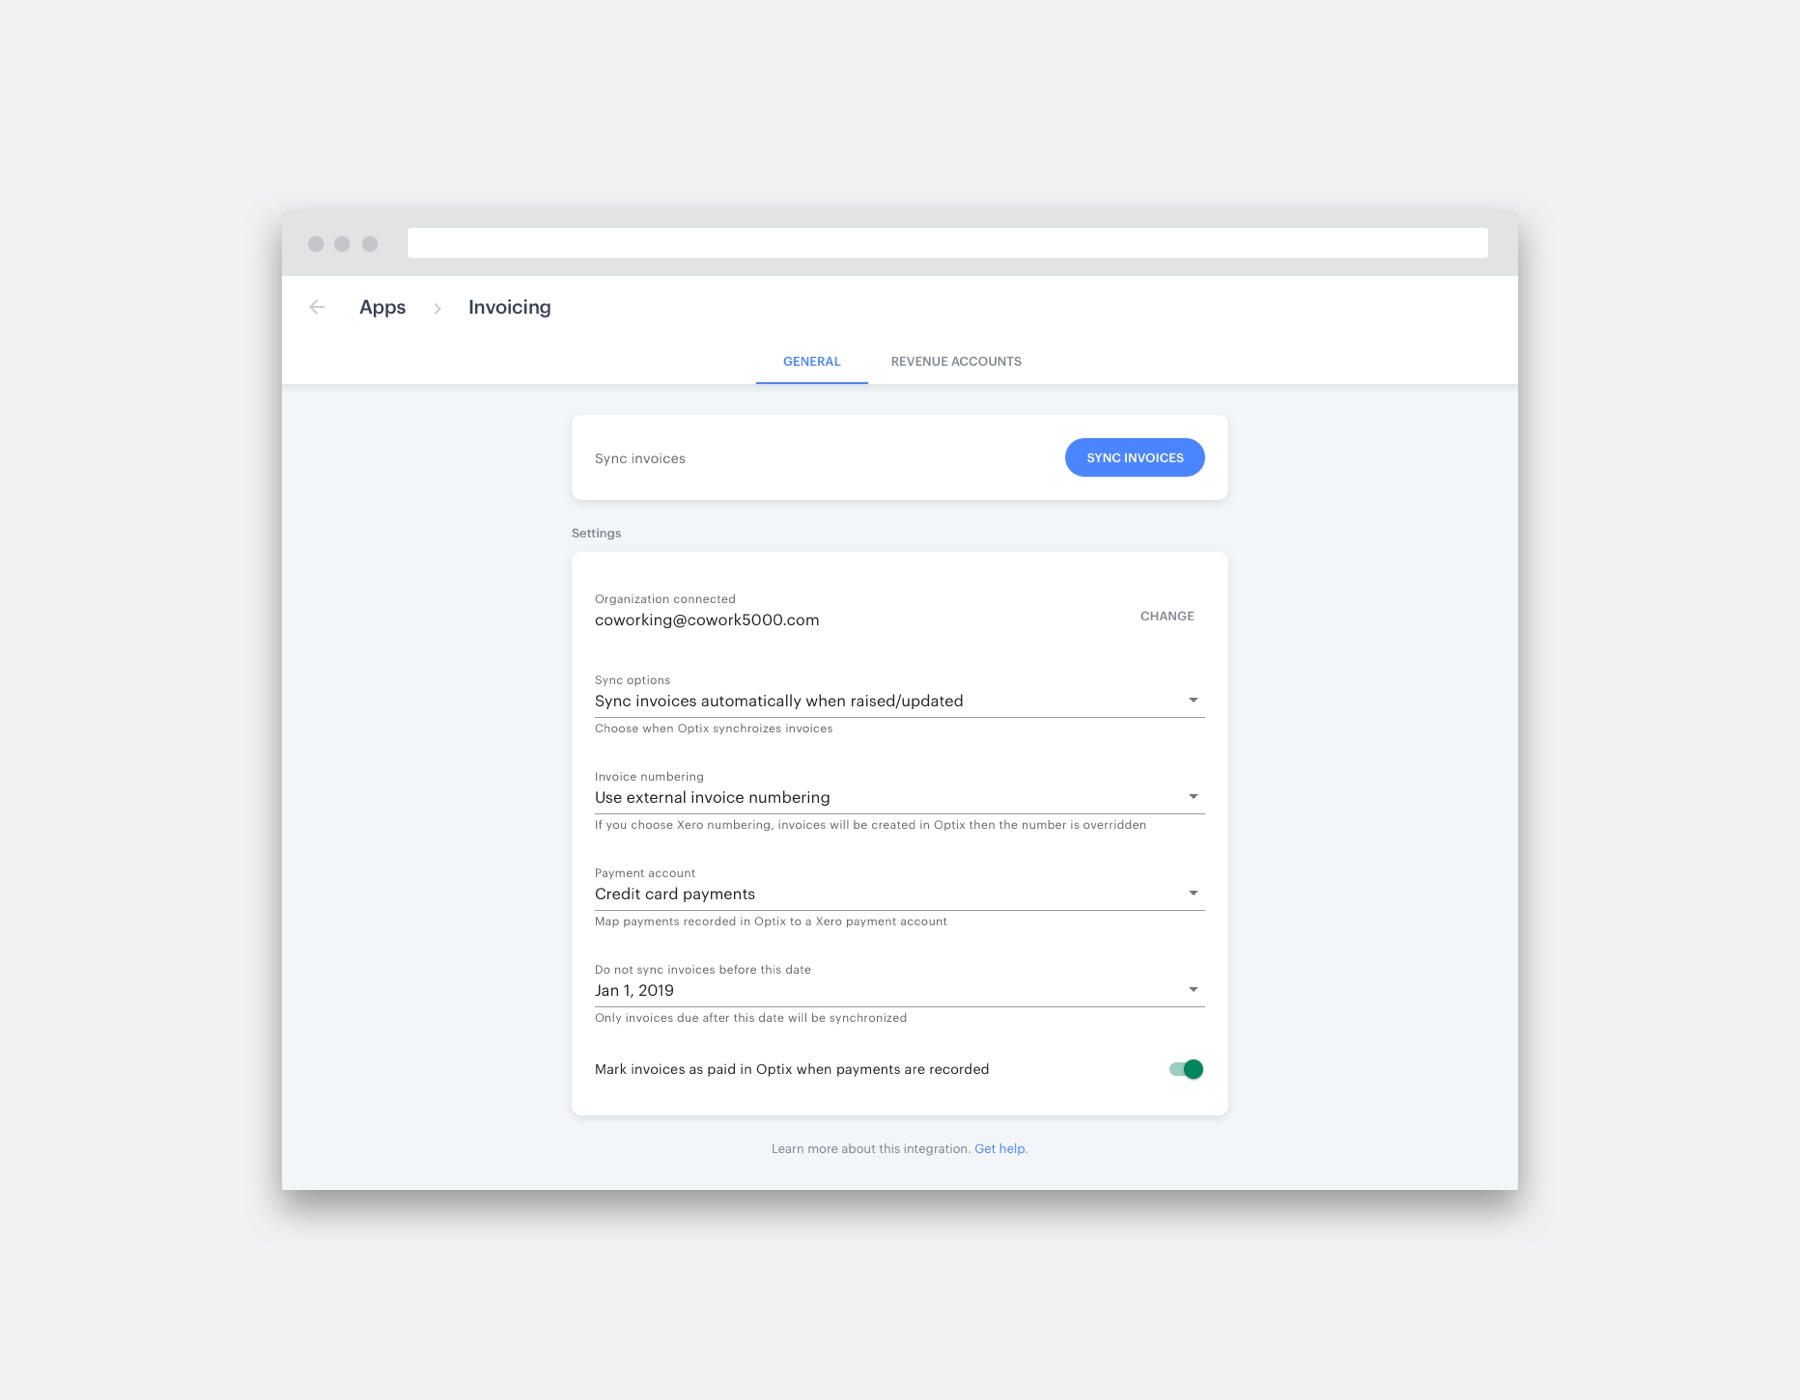
Some interfaces, like “App settings” and “Admin main menu” can open in large canvases but are still surrounded by the Optix layout.
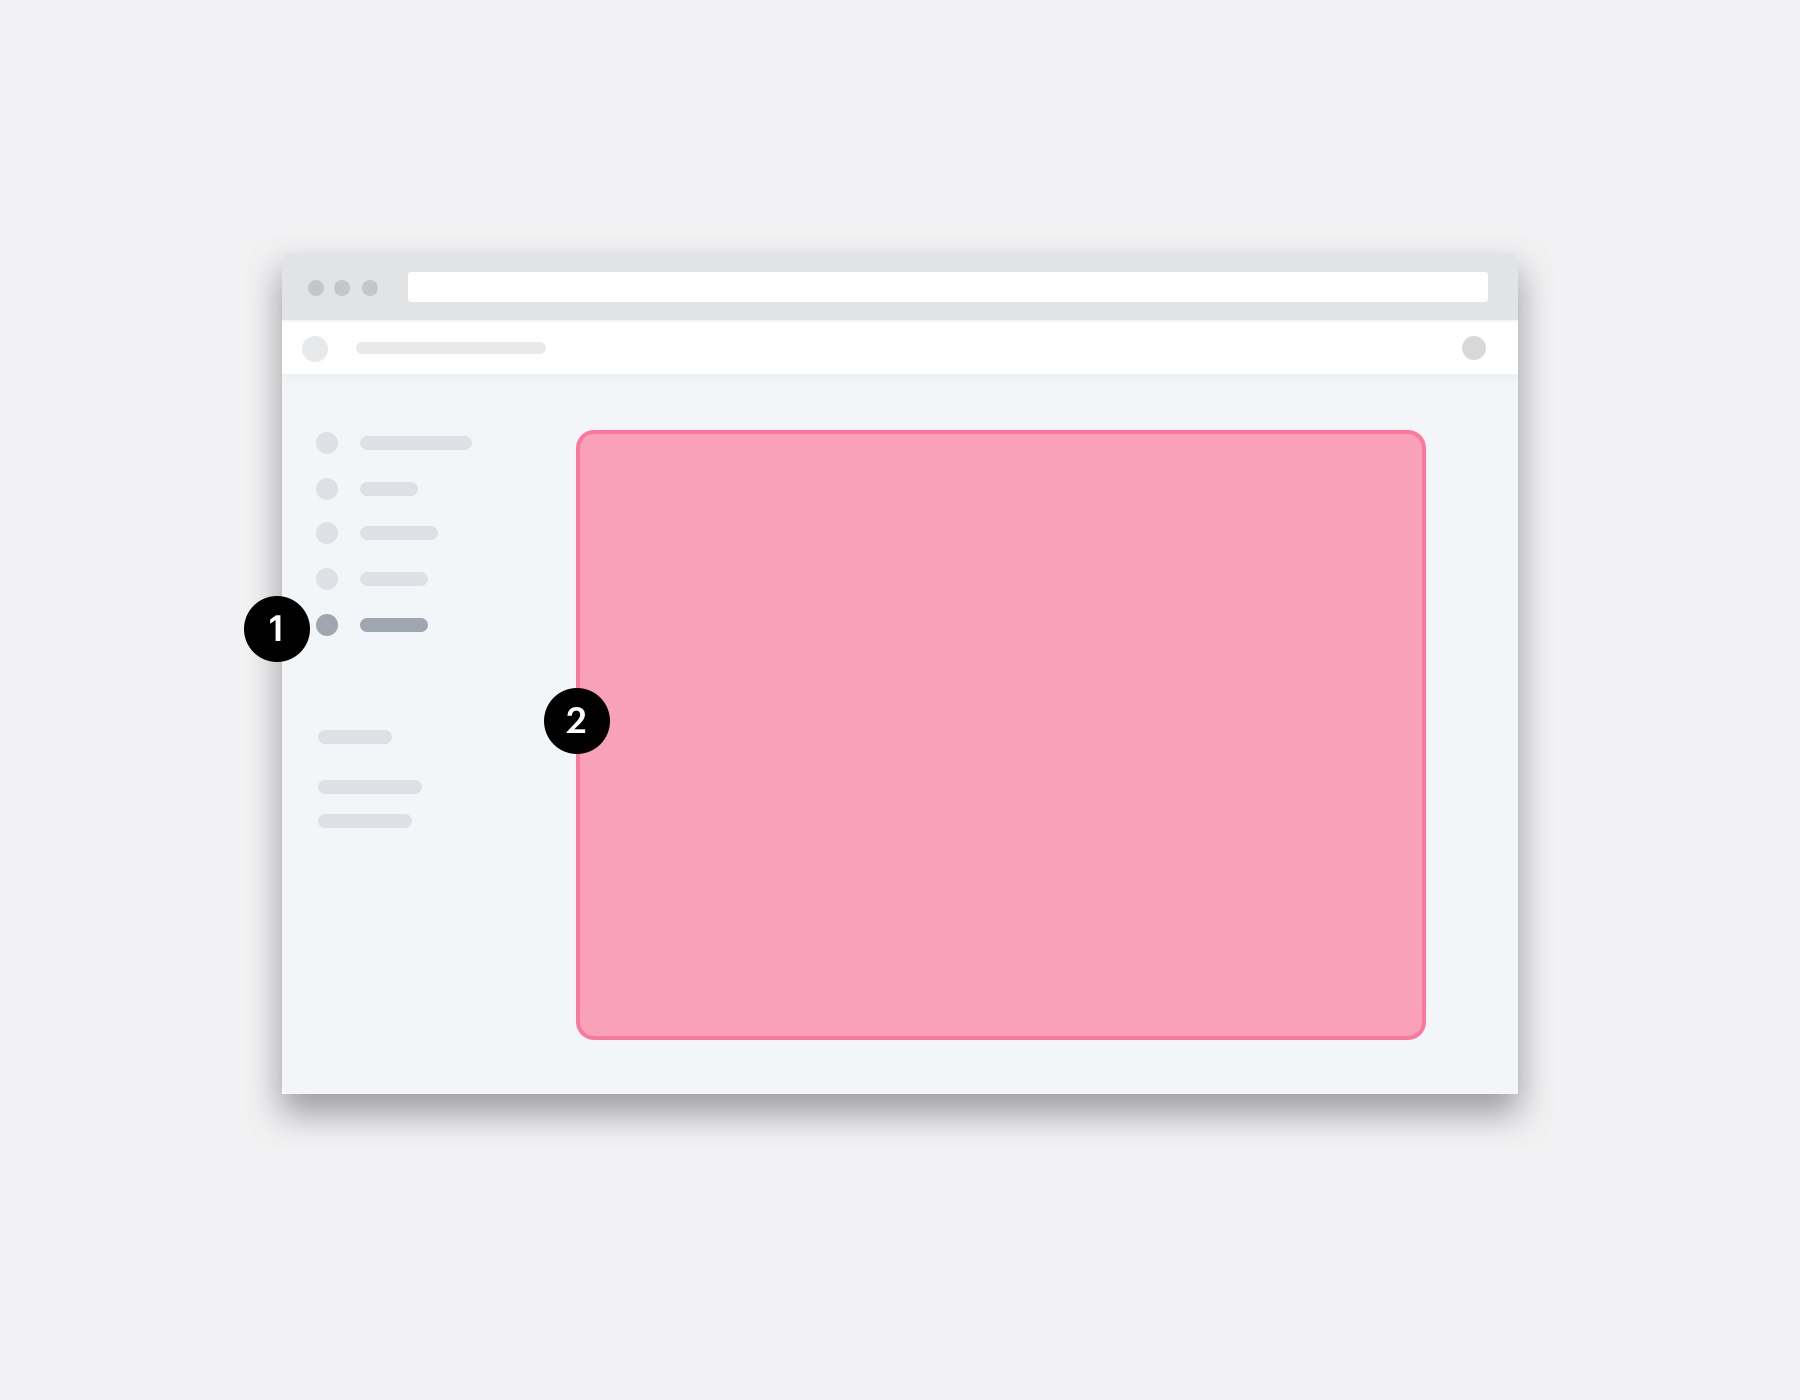
An example of a main menu canvas open on the admin dashboard.
- Optix admin dashboard (with a ‘main menu’ canvas selected)
- Canvas (where your UI displays)
We provide a simple HTML boilerplate of a canvas at https://api.optixapp.com/ui-kit/. The boilerplate provided includes two UI kit main files, the CSS and the JS. The UI kit is built using Vue.JS, and you could find more resources at https://vuejs.org/.
Libraries
Optix UI kit embeds some basic libraries, like Vuetify.js and Axios, so you don’t need to import any external libraries for basic actions. Please check the components available at https://vuetifyjs.com/en/components/api-explorer and the Ajax library methods for Axios at https://github.com/axios/axios.
You can use any Vuetify element in your app, check the example below:
Along with the Vuetify elements (prefixed by “v-”), we provide a few “optix-” components:
| Tag | Notes |
| This element adds the proper padding and context to other components of the page. It also provides a contextual class on the tag, related to the platform type:
|
| This element handle margins for inner elements. |
| This element generates a sheet box that is useful for “app-settings” container. |
Axios is available at `this.$axios` object on Vue JS context. Also, the `this.$optix` provides a set of methods that are helpful for your development:
| Tag | Notes |
| You may notice the “init” method in the HTML boilerplate. This method is important to activate the Optix component. It will read the context variables and also show the page only when the canvas is fully loaded (make sure to use the class “optix-show-on-load” at the main object) The options parameter is optional and can receive an object that overrides the current environment variables: client_idThe app client ID (useful if your app open or link other canvases of your app). Default: null. access_token_argumentThe token argument name. Default: “token” |
| You can call the Optix API using the method graphQL. All requests using this method will have the token from the canvas URL attached.
|
| You can open a modal canvas using this method. Use the identifier parameter to define the canvas target. The context variables will be concatenated as URL parameters. Make sure to provide a client ID at the init phase before using modals. |
The Optix App PHP boilerplate contains examples.
Tips
- Canvases are designed to load fast, so avoid embedding a lot of external resources.
- Avoid compiling UI kit with your app (using webpack or any other package manager). They are cached at the browser side, and this cache is shared between all canvases when loaded from our servers. Usually, the unique file to be downloaded from the servers when your app canvas is shown is your HTML app.
- Canvas resources are usually cached on the client, and the only way to clean the cache is by setting a short expiration time HTTP header on your server or changing the name of the file.
- Keep it simple; don’t create external .JS files if you are not planning to reuse those files. 5K of JS script embedded on an HTML could be more efficient than 2K external files on some restrictive networks.
- Feel free to use arrow functions or anything else from ES2015 (ES6). We do not support IE 11.
Got questions?
We are here to help. Ask us a question and we’ll do our best to answer as soon as possible.
Previous
Building interfaces for your appNext
App Example