This page contains a step-by-step guide to get started.
Building Your First App
On this page
Getting started
Step 1
Log in into your Optix admin dashboard (yoursubdomain.optixapp.com). If you don’t have an Optix organization, contact us.
Step 2
Look for the item Apps → Develop, on the left-hand menu. If you are not able to see this link, get in touch with our support team to enable the option.

‘Develop’ menu item on the Optix admin dashboard
Step 3
Click the Create App button.
All apps for Optix must include a reference, which is created in an Optix organization. The app reference serves as the basis for the app details, the authentication tokens you can use to develop, and the app settings where you subscribe to webhooks and specify canvases for your UI.
Step 4
A window will open. Enter the app name and click the Create button.

‘Create app’ modal on the Optix admin dashboard
Step 5
A new app has been created and installed. A page will display details related to your new app.
The details in the section at the top (i.e., ‘category’ and ‘link’) are only required if you want to share your app with other organizations. If you do want to make your app public, please get in touch with our team.
The same page will present you some keys and tokens, as shown in the sample below:
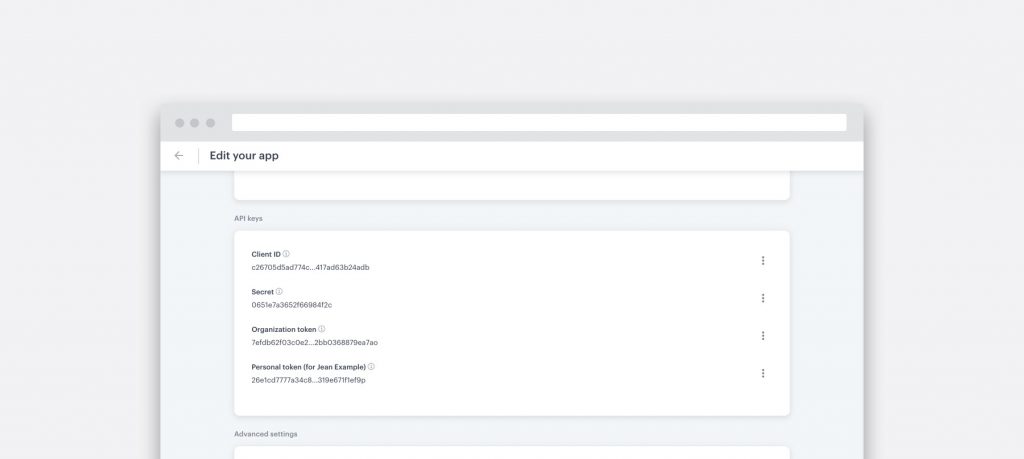
Your app’s keys and tokens.
The Client ID never changes. It will be used to identify your app in the Optix system. The Secret is used to create signatures on webhook requests. The Organization and Personal tokens are generated automatically for your organization and currently logged in user.
The ⋮ menu located next to the token allows you to access the GraphQL Voyager, GraphQL Playground, and Webhook debugger. You can also copy and regenerate some tokens.
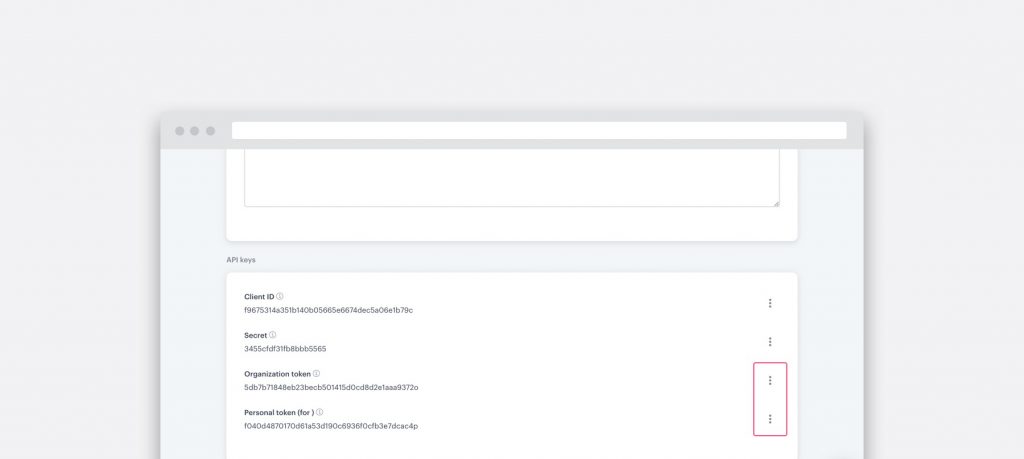
Overflow menu containing links to launch useful tools pre-filled with your tokens
The advanced settings file can be used to register the webhooks and canvases of interest by your app. Check the section Settings file to understand the file format.
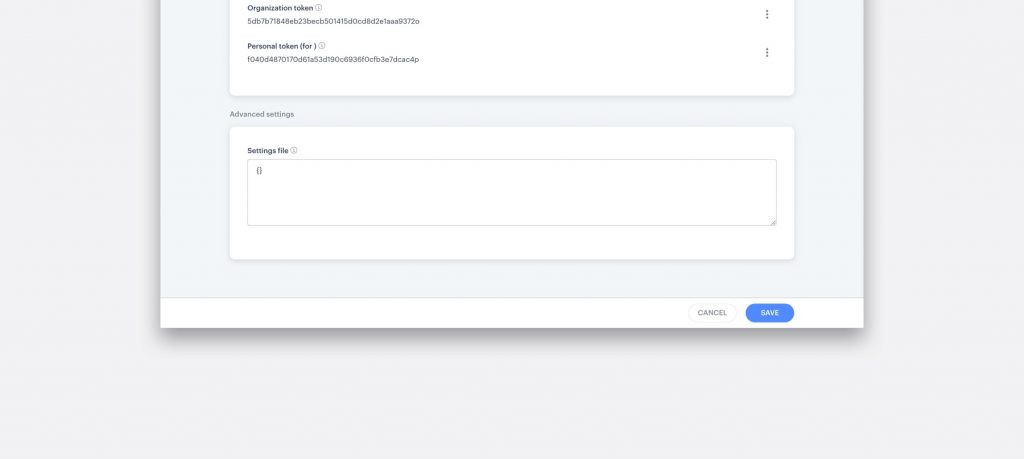
Settings file section
Step 6
Create your app’s code either from scratch using the technologies of your choice, or using the boilerplate detailed below.
App boilerplate
Building an app for the first time can be time-consuming. A boilerplate could speed up your first few steps. We provide a PHP Laravel boilerplate, you will find it in this repository.
The README.md contains instructions on how to start the project and set up the configuration on the app configuration page.
Got questions?
We are here to help. Ask us a question and we’ll do our best to answer as soon as possible.
Previous
Using OptixNext
Using the API